Humble Hills Homestead
Documenting my attempt to live a full life
Raising and Processing Cornish Cross Meat Chickens

My family and I, and by family I mean mostly me, had thought about raising meat chickens for a few years, ever since we started with our laying flock. I never love the chicken we get from grocery stores. The quality is lacking, and we all know how sad the living conditions are for commercially raised meat chickens. The reservation which kept from taking the leap was neither my boyfriend nor myself had ever killed anything. Is that something we could emotionally manage? I think that’s the question many homesteaders face.
When we moved to Pennsylvania, we learned our neighbor is involved in the commercial poultry industry. He offered to give us some of the chicks that would have otherwise been euthanized. They always order extras to account for any losses. While this obviously doesn’t remove us very far from the commercial world given the source of the chicks, the fact remains that they were already alive, and would otherwise be put down if we didn’t take them. Our meat flock would also have access to the outdoors and a substantially larger run than they would have had.
We agreed to take 20 Cornish Cross, only because the neighbor said he has all the essential tools for processing the birds, and will assist us since it was our first time. What luck! On the day they arrived, we were told meat birds would normally spend their entire lives living on a wire-mesh floor.
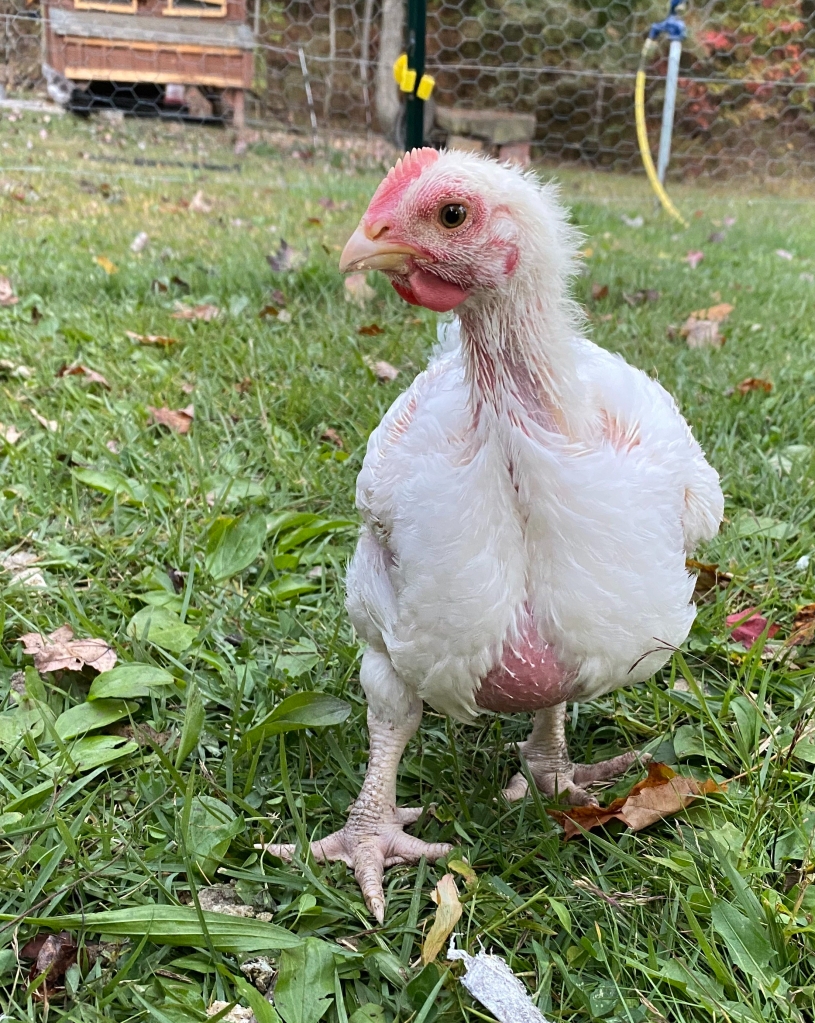
We kept them for around 8-10 weeks, I can’t remember exactly how old they were. When the day arrived, the neighbor brought a trailer with all of the necessary supplies for butchering and processing. Supplies included: a frame for hanging the chickens for butchering, a stunning knife, a heated vat for scalding water, a plucker, tables for gutting, knives, and two trash cans: one for the guts, and one which was filled with ice, salt, a small capful of bleach, and water to hold and cool down the carcasses.
I wasn’t sure how well I would handle the butchering, emotionally. I’ve bawled like a baby when I’ve lost members of my laying flock, though most of the time their deaths have been traumatic, and I spend a lot of time with those birds. The meat chickens were different. They were getting so big they couldn’t go up the ramp to put themselves to bed. They drank about five gallons of water a day. They were a ton of work to constantly feed, water, and catch. In addition, they had started biting me, hard, when I did catch them to put them to bed. I was over it.
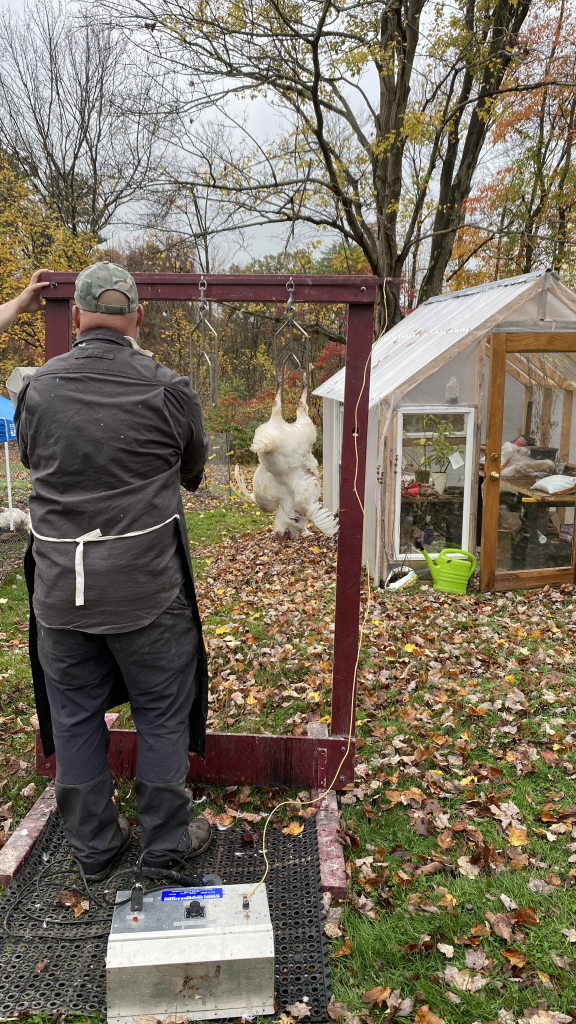
Unfortunately in terms of experience, my neighbor butchered all of them for me, but I stood by for the first four birds and felt only a little emotion over their death. This was their intended purpose. He first stunned them, then cut the carotid artery and the jugular, keeping the esophagus intact. He said this keeps the carcass cleaner overall when scalding and plucking them, and draining the blood immediately helps to maintain a higher quality of meat. The birds flapped and struggled for a minute, and it was all over.
After the birds’ movement had subsided, it was time to dunk them into the scalding water. The water was kept at 140 degrees and the birds were dunked for about 45 seconds. They were not dipped into ice water afterwards, as some people do. This process helps loosen the feathers for plucking. You can pluck them by hand or with a plucker. We used a feather plucker.

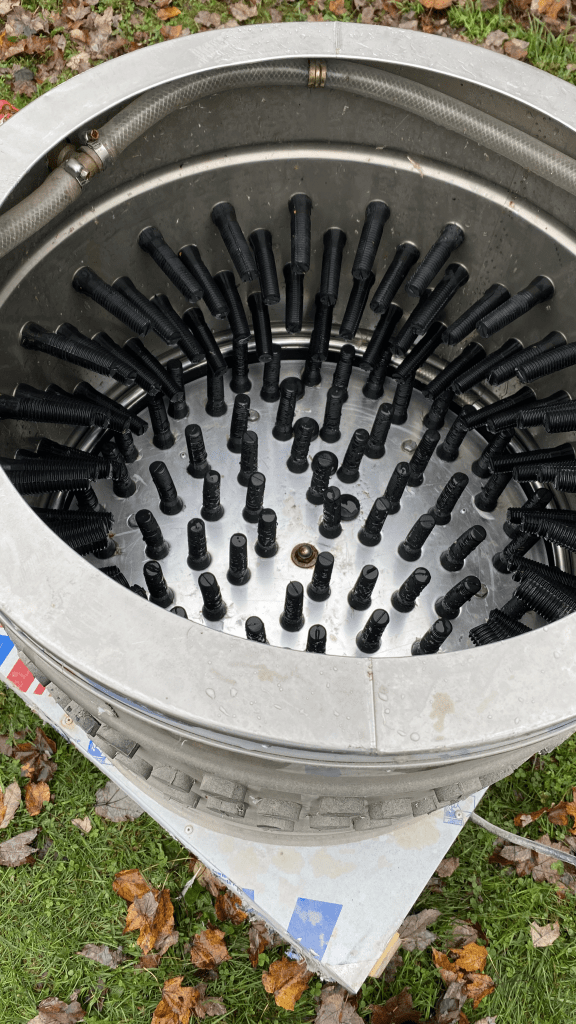
At this point in the process, I stopped taking photos. I didn’t know if I looked like a psychopath trying to take photos. I wish I had a video of the plucker in action. My neighbor, however, had snuck some photos and sent them to me. I had no idea!
After scalding, the birds went into the plucker, two at a time. It was incredible. The drum would spin while a water hose was attached and running. The water washed out the feathers as they were getting plucked. They were naked in a minute or less.
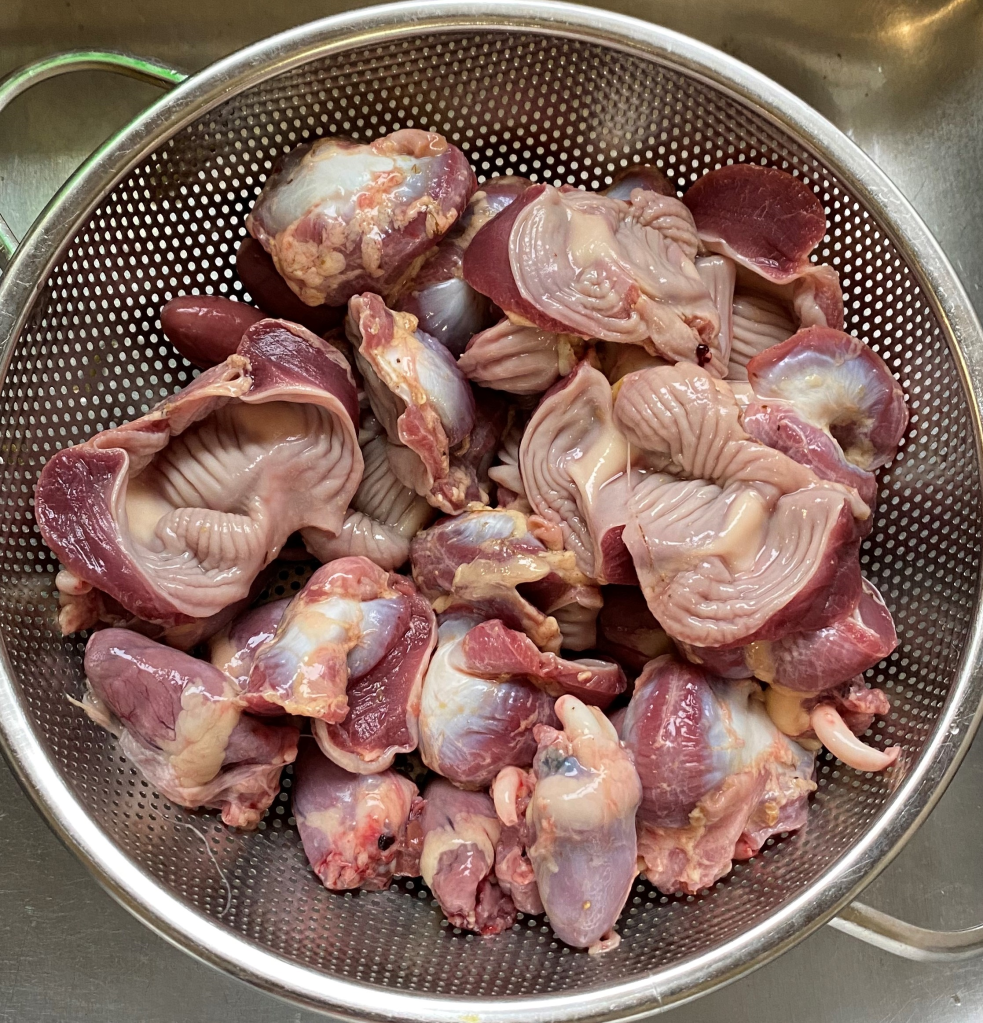
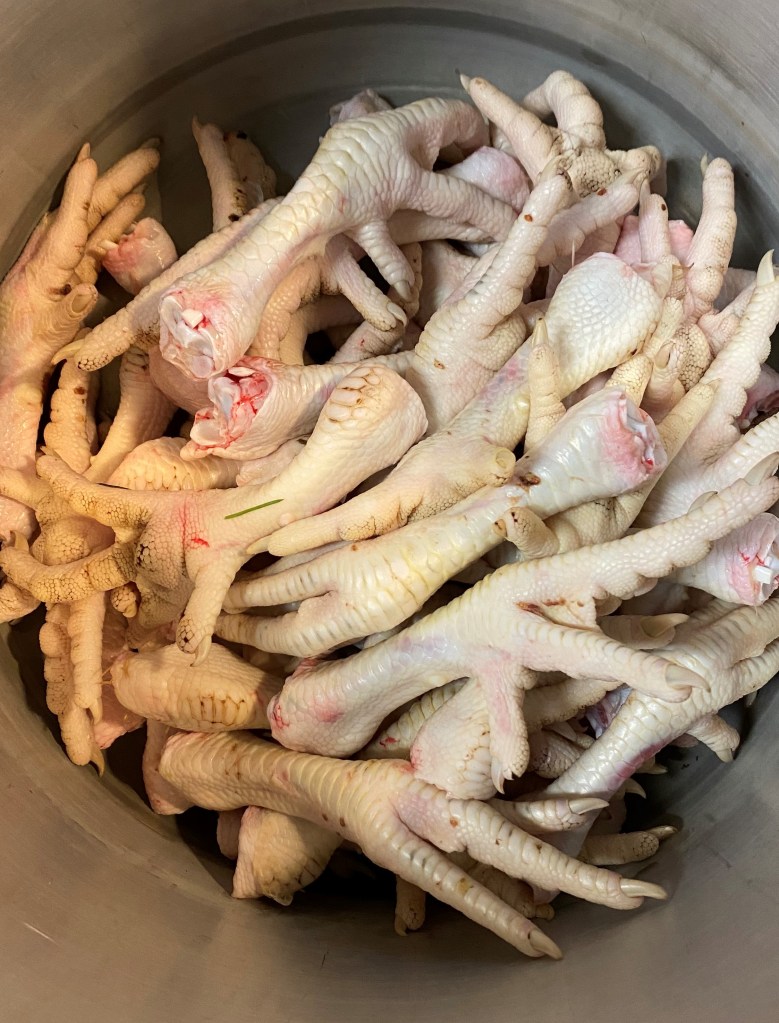
After plucking, it was time for gutting. We had to remove the head and feet first. We kept the feet and tossed the head. Next we had to cut open the abdomen near the vent (butthole for lack of a better term), and begin removing the organs. The intestines took up roughly 1/3 of the abdominal cavity. The kidneys were maybe the size of a quarter or a little larger, the gall bladder the size of a nickel, the lungs were the size of a dollar folded into 1/4ths. We discarded all of those organs. We kept the heart, liver, and gizzard. The gizzard is like the chicken’s stomach. The chicken will eat small pebbles which sit in the gizzard. The gizzard itself is a powerful muscle which contracts, squeezing the pebbles, and subsequently grinds the food. While I don’t have imagines of peeling the gizzard, that was something I learned: you have to peel the gizzard. As an aside, we live in coal country and nearly all of the “pebbles” in these birds’ gizzards were lumps of coal!


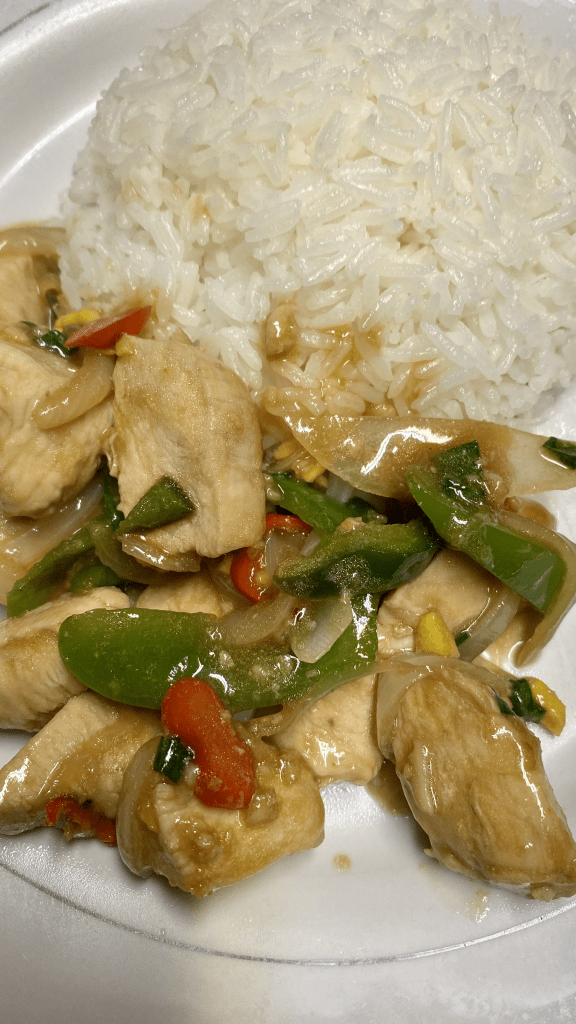
After processing, the birds were kept in the ice water brine for four hours, until their body temps had cooled. They were then put in bags and put in the fridge. Rigor mortis will set in after a few hours, so they birds are very rigid. If you would eat them at that point, the meat will be a bit tough or rubbery. After two days, some of the birds were still a little stiff, but on day three of the aging process they were limber like a grocery store chicken. I kept five birds whole, and carved the rest of them into breasts, whole legs, deboned thighs, drumsticks, wings, and tenders. I froze the carcasses for chicken broth, along with the gizzards, hearts, and half the livers. The first meal made with our chickens were fried chicken livers. This was the first time we had ever had livers and I was pleasantly surprised at their tenderness and red meat flavor.

I would say this process is bittersweet. We enjoyed the presence of the meat birds, but their time had come. It is very rewarding to know that we are making use of every component of the bird. We thanked them for what they gave us. Our freezers are full, and we shouldn’t need to buy chicken for at least six months. I absolutely believe we will do this again.
Stay tuned for the next post, in which I will go into detail about how to prep and use chicken feet! That was an adventure worthy of its own post.

Pingback: Chicken foot Stock and the Benefits of collagen – Humble Hills Farm