Humble Hills Homestead
Documenting my attempt to live a full life
Building a Green House and a Few Homesteading Book Recommendations

In December I finally nagged by boyfriend into helping me build a greenhouse. To start, I used the book Step-by-Step Projects for Self-Sufficiency: Grow Edibles * Raise Animals * Live Off the Grid * DIY. This book is fantastic! It has dozens of projects ranging in scale of difficulty, and many of them are on my to-do list for this coming year. Many of these require at least basic knowledge of tools and building, but trust me, if I can do it you can too!
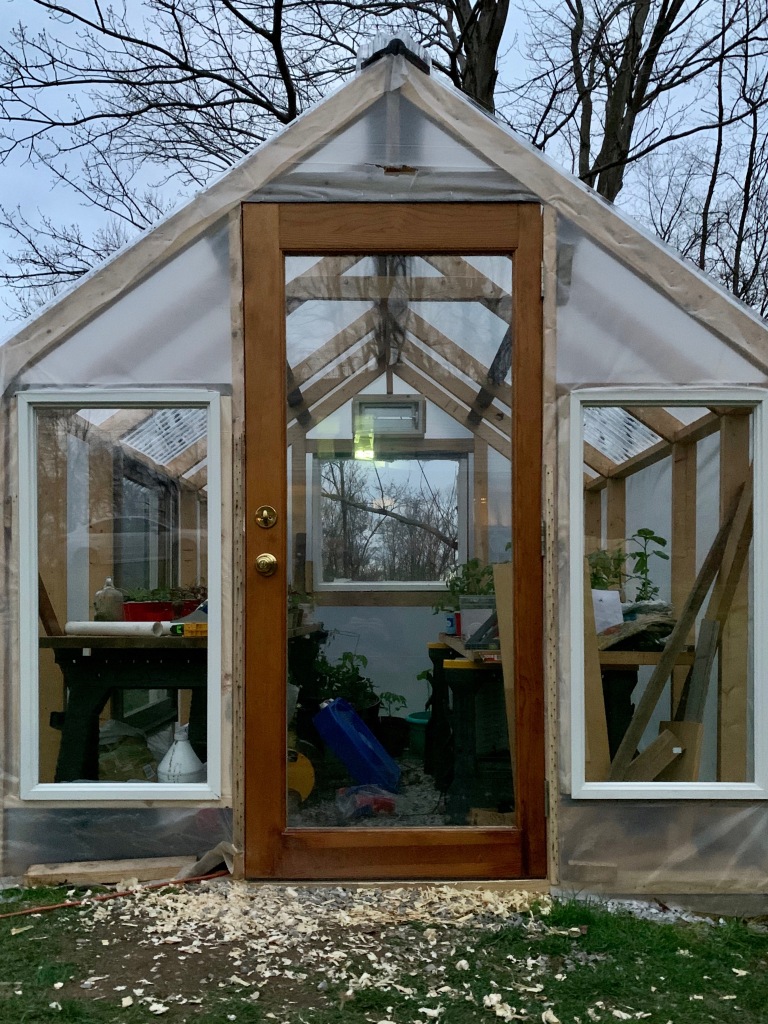
Okay, full disclosure my boyfriend is 100% the muscle and 98% the brains behind all major building projects. My 2% is just coming up with the idea and then cheering him on. However even with this build, I actually contributed, mostly measuring for boards cut, and then subsequently screwing it all together while he did all of the cutting. I couldn’t be happier with the results! I have included pictures of the build, but the book has more comprehensive pictures as this post is not intended to be an instructional guide. Ultimately we spent about $200 in materials, not including the plastic which we already had, and it took us about 10 hours. Way cheaper than buying a kit and we can make it our own.
I’ll go ahead and wrap up this post by saying building a greenhouse is only the first step. You’ve also got to learn how to use it! I consulted several books and online resources before settling on a favorite choice, The Greenhouse Expert. This book is a little older, but it really takes you from the beginning to the end of greenhouse gardening. It guides you through selecting a style based on your needs and types of plants to be grown, building materials, venting options, maintaining temperature, floor plans, growing tips, and so much more. I feel way more comfortable setting up my little seedlings and you can look forward to future posts on the subject. Check out the project below!


It’s cool to see the in progress photos! Thanks for sharing. 🙂
LikeLike
Good job on the greenhouse! They are mostly useless where I live, so I am envious. Very good job indeed.
LikeLiked by 1 person
Thank you! I imagine southern climates won’t benefit from them that much if that’s where you live. Even in zone 6, it’s far too hot to use them in the summer.
LikeLike